Wednesday, May 26, 2010

Gift Card Challenge

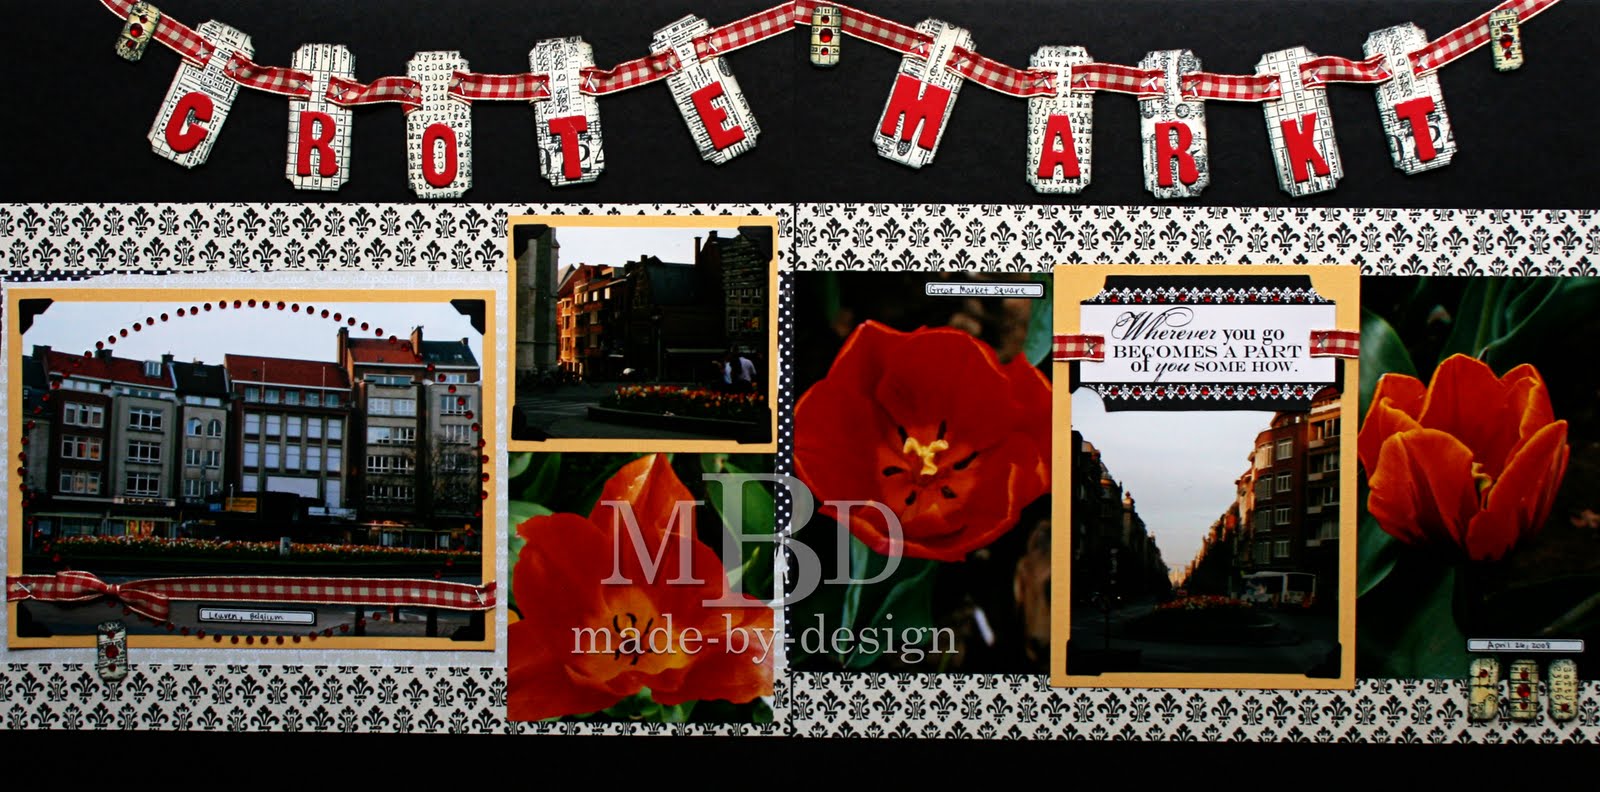
My calendar seems to be filled with birthdays, teacher gifts, and graduations, so my challenge over at Memorable Seasons this week is to create a set of 4 cards that hold a gift card or folded money. This can be in the form of a pocket, a strip of paper to tuck the card under, or a tag. Some ideas to attach your card holder would be glue, staples, sewing, brads, etc. Use your imagination! Just make sure you only put adhesive on three sides when you attach your card holder so you can slip the card in! The cards don't have to all match and the greeting on your card can cover any theme as long as you can slip a gift card or folded money in the front of the card.

Here are my samples for this challenge...
Image

I used a black pattern paper and stapled it on to create the pocket for the gift card...
Image

This card uses a tabbed journaling tag that I scored and created a pocket with. The tag doesn't have to be scored completely in half...as long as you have enough room for a flap to glue down and enough room for your gift card, that's all you need.
Image

This card used a journaling spot die cut that had a travel theme. I cut off the part that had the travel wording, then covered up the travel title with my sentiment. The right side of this die cut is open to slip the card in.
Image

This card uses a pre-printed tag that had a travel theme, and I just covered up the travel theme and added my sentiment.
Image
I'm looking forward to seeing your creations!

Supplies Used:
Teresa Collins Travel Ledger line:
*-Travel Tags
*-Library Envelopes
*-Travel Postcard
*-Travel Circles
*Jenni Bowlin Red/Black Dotted Label Stickers
Black StazOn Inkpad
Hampton Art "Thank You" stamp; Flourish stamps from Walmart
May Arts and American Crafts Ribbon
Red and Black Cardstock
EK Success Journal Plate & Bracket Punch
Fiskars Scalloped Sentiment Border Punch
Tim Holtz Tiny Attacher

Tuesday, May 25, 2010

Flower Market layout share

This is the last layout I created so far from the Travel Ledger papers for Memorable Seasons and I think it's my favorite one! And it used one of my favorite papers from this line..the Travel Book!
 The Travel book paper had two 6x12 sections on the front side and I cut out one and used it on the left side of my layout. All of the elements on this side were already printed on the paper. I just added some color. For the frame, I colored in some areas with a red colored pencil, and then used a Copic marker (W1) to color in the rest of the frame. The whole frame was coated with Matte Accents, and this gives a duller but raised look to the areas similar to an embossed effect. I stamped the word "flower" in the center of the frame and added some red color pencils to the outlines of the letters and then coated the circles in Glossy Accents, which dries clear and shiny. This gives my title a dimensional feel with little effort. I used a pencil to write the word "market" underneath, then traced it in black pen.
I also utilized the printed border on the side of the 6x12 page. The only thing I added to it was the scalloped edge and that was the other base paper I used on my layout (the tan colored pattern).
This photo shows the last part I used on the layout from the cream book paper. All I did for this section was to outline it with the red colored pencil and add my journaling in the box.
This other half of the layout was really fun to make! I stamped the faded circles stamp in red ink along the top and bottom of the tan pattern paper base, lining them up with my Stamp-a-ma-jig. I love the custom look this gave to my layout and the tan base was perfect in warming up the colors as well as being a good contrast to the cream I used on the layout.
Here's the last detail shot for this layout. You can see how I added the lace and black ribbon to the layout and I was able to then stick the Memo pin on the layout under the bow. I cut a saying from the coordinating travel tags sheet that said "sights" and I love the look it gave to the layout. Looks like a market tag. This photo also shows how I circled the number 2008 already printed on the cream paper and how I added the buttons.

Supplies Used:
Teresa Collins Travel Ledger collection:
*-Travel Book
*-Travel Tags
*Jenni Bowlin Red buttons
*Tim Holtz Memo pins
*May Art Ribbon and Lace
Tim Holtz (SA) Psychadelic Grunge stamps (faded dots)
Fiskars Scalloped Sentiment Border Punch
Red Colored Pencil, W1 Copic marker
Ranger Glossy Accents and Matte Accents
Ranger Distress Inkpad: Fired Brick
EK Success Black Zig Marker
EK Success Typewriter alpha Stamps
Cream embroidery thread
*= products I received from Memorable Seasons as Design team member. 
Remaining products used were purchased for my own personal use.

Monday, May 24, 2010

Travel layouts part 3...

 I loved this paper (Travel Book) so much that I had to use both sides...I couldn't bear to cut it up. And then I quickly ordered a few more sheets of it so I could cut it up and use it on another layout. :)
And when I was creating this layout, I realized the back side was still untouched, so I created another layout on the other side. It will just slide in a blank page protector and you'll be able to see both sides beautifully. 
I'll share that one below this layout...
For this layout, I colored in the frame on the left side of this paper with markers and added the tag in the center as a title with foam tape.
I cut the top off the tag to make it more of a rectangle and trimmed the top corners with scissors 
to match the bottom ones.
Next, I sponged around the outside edge of the layout with black ink and added some red cardstock accents with a scallop border punch...can I say that I have a new favorite border now?? :)
 And I will add my journaling on top of this polka dot label sticker. The rest of this layout was already pre-printed on the paper background...LOVE that! :)
 
Supplies Used:
Teresa Collins Travel Ledger Collection:
*-Travel Book
*-Travel Tags
*-File Folders
*Jenni Bowlin Label stickers
Fiskars Scalloped Sentiment border punch
Red Cardstock
Zig red marker, Copic W1 marker
3L Photo corners
Black inkpad and sponge, foam tape
*= products I received from Memorable Seasons as Design team member. 
Remaining products used were purchased for my own personal use.
***********************************************************
 Now for the other side of this layout page base...
This page was pretty quick to put together also. I used the printed paper as the base, then added a couple strips of paper along the left side. The black pattern was a border that came from another coordinating paper and I just added the red scallop border with my punch. I also sponged the edges of the layout.
The cool thing about this layout was being able to include so many of the extra photos my husband took while on his trip. I used a program called Photo Sheet to that lets you collage several photos onto one print (in a HUGE combination of sizes). I chose to print my photos all at 2x2 size onto one 4x6 photo paper sheet. The program saves them as a JPEG image, then you can print them out at home or send them off to your favorite photo store. You can use them as is, or use them cut apart, like I did on this layout.
For my journaling, I used a pocket from the same travel line (red circles) and inked the edges with black ink. I also stamped a single row of scroll images to give it a custom look, and added a punched border with red cardstock. The tag inside was also from the same collection and I just stapled on some ribbon and sponged the edges. For the main focal point on the tag, I used a circle label sticker and added a chipboard letter. The whole tag pocket sits on a piece of the postcard paper (cut from the back side) and it was the same piece of paper that included the border I used on the left of the layout.
Supplies used:
Teresa Collins Travel Ledger Collection:
*-Travel Book
*-Library Envelopes
*-Travel Postcard 
* -Travel Tags
*AC Thickers: Apartment Chipboard (cherry)
Jenni Bowlin stickers
American Crafts ribbon
Tim Holtz Tiny Attacher
Fiskars Scalloped Sentiment Border punch
Technique Tuesday stamp (Irony)--scroll border stamped on pocket
3L photo corners, sponge
Black inkpad


*= products I received from Memorable Seasons as Design team member. 
Remaining products used were purchased for my own personal use.

Friday, May 21, 2010

Travel layouts continued...

Here's a quick and simple layout to share today...
First off, I have to say that the red circle paper is probably my absolute favorite one from this kit! :) I created my own custom pattern within the red circles. I stamped the black scroll icon and sponged around the edges after I cut them out to create a scalloped edge.

 The rest of the layout was really simple. I used the printed background for my page base, so all that was left to do was to mat my photos (after I sanded the edges to give them some "pop") and add my chipboard title.
I will add the names of the people to the bottom under the red photo along with a few other details, but waiting on hubby to write it all down for me. 

Supplies used:
Teresa Collins Travel Ledger Collection:
-Travel Circles
-Travel Letter
AC Thickers: Apartment Chipboard (Cherry)
Technique Tuesday stamp (Irony)
Black Marvy Matchables Inkpad and sponge
Blue and Red Cardstock
sandpaper
*= products I received from Memorable Seasons as Design team member. 
Remaining products used were purchased for my own personal use.

Thursday, May 20, 2010

Travel layouts...

 For this layout, I used an exacto knife to cut out the left side of the pretty frame and slid my photo underneath. Then I stamped my title inside the frame.
 I also used a post it note and the corner rounder to mask off the file folder and add red color just along the outside of the pattern paper (love that it was just one sheet with the printed folder and a graph paper background). I punched the post it note with the corner rounder and then just moved it down as I sponged on the ink. I also rounded the edges of the layout base. In this picture, you can also see the button and extra paper strip I added to the tab of the file folder.
I absolutely loved the saying that was printed on this paper, so I used that for the journaling. The photos were really pretty self-explanatory, so I didn't add much journaling to this page. The funny part is that when my hubby showed me these pictures I laughed when I saw the posed shot with the Taj Mahal in his glasses. The tour guide told them it was all a mandatory cool shot to have. LOL

Supplies Used:
Teresa Collins Travel Ledger collection:
*-Travel File Folder
*-Travel words
Ranger Distress Inkpad: Fired Brick
EK Success Antique Typewriter alpha stamps
Post it note, sponge, Exacto knife
WRMK Corner Chomper
Red Embroidery Floss
Autumn Leaves
Black Buttons
*= products I received from Memorable Seasons as part of the Design team. 
The rest of the items used were purchased for my own personal use.

Wednesday, May 19, 2010

Travel Ledger Layout... May Sketch

For the month of May, Jill from Memorable Seasons sent the DT some AWESOME papers from the new Teresa Collins Travel Ledger line. I love that the colors are mainly black, red and cream with a few sheets having some blue added. Very versatile prints and I love the vintagey look of them! They have awesome texture to the papers too, which doesn't show well in the photos, but they were heavenly to work with.

I'm going to share the different layouts over the next few days, so get in the traveling mood! :)

This first layout is from a sketch Cheri ONeill created for Memorable Seasons. Cheri and more of her sketches can be found over at Let's Scrap (click the name for a link). Here's a photo of the sketch:

Here's the layout I created based off Cheri's great sketch:

and larger photos of each page...
Here's the details...
I know these are the latest "craze" in scrapbooking, but I haven't created a banner yet until now. I LOVE how easy it was to make and I love how it looks on the layout...I will definitely be making more in the future. :)

To create the banner tags,I used my Tim Holtz "Going Somewhere" stamp set that I purchased previously from MS. Various images from that set were stamped onto white cardstock with black ink. Once the images were stamped (some several times in a row) then I punched out the tag shapes and I aged them with my Antique Linen inkpad and a foam sponge. This tinted each tag cream and I also used a sponge and black inkpad to edge the tags. I used some red ribbon and my tiny attacher stapler to add the tags to my banner. The tags themselves are mounted with foam tape so they pop off my page and I also added the chipboard letters on top. I also added small tags throughout the layout. I followed the same steps for the banner tags, except I added some yellow ink to them using a sponge. They also are embellished with small gemstones.
To follow the sketch on the left hand page, I combined several photos into one larger photo and I used a piece of paper I cut into an oval shape and individual gems to create an oval around my largest photo. I like how the oval still mimics the oval in the sketch, but it is subtle and it focuses on my main photo.
For my journaling, I added a tag from the same travel line that had a great quote on it. And I mimicked the same ribbon technique I used for the banner along with adding some more red gemstones. I did hand-write a few details and I included them throughout the layout using the small black label stickers (see photo above).

Tim Holtz (Stampers Anonymous) "Going Somewhere" stamps
Red gemstones- The Paper Studio
Black Photo Corners-3L Scrapbook Adhesives
Red Ribbon-unknown
Tim Holtz Tiny Attacher
EK Success Photo Labels punch
Ranger Distress Inks: Scattered Straw, Antique Linen, Black Soot
Sponge, Foam Tape
Sketch by Cheri O'Neill 
*= products I received from Memorable Seasons as part of the Design team. 
The rest of the items used were purchased for my own personal use.

Tuesday, May 11, 2010

More leftovers...

It's amazing what you can do with leftovers and scraps! :) Here's some more cards I created using the rest of the American Crafts Letterbox collection I received as a DT member from Memorable Seasons.

Let's start with this card...do you remember this rub-on I cut to create the detail on this layout (link here).
Well, as promised in that post, here is what I did with the rest of that rub-on. :)
First, I stamped my sentiment onto some pale yellow cardstock. 
Then I placed my rub-on over it and applied it with a Popsicle stick.
I needed to tie it all together so that it looked like it was "made" that way, so I used a pencil to sketch in an outline around the entire rub-on. Then I outlined it with a brown marker.
Once it was outlined, I was able to cut it out just outside the outlined edge and use it on this card:
Here's another card:
For this one, I used a Maya Road stamp set (lots of tiny houses) and lined them up on a clear block to create the stamped background. Then I colored them in with colored pencils to match. The circle label was hand cut from my scrap paper and I applied the rub-on on top of it to create the main focal point.
Ready for another card? :)
This one also features a hand cut label with a rub-on sentiment. I punched holes in the ends of the label with my Crop-a-dile and set some larger eyelets in the holes, then looped my ribbon through. The edges were distressed with my edge distresser.
 Here's the next card...
Same deal for this one...hand cut label, rub-on and ribbon tied around the pink paper.
For this next card, I used a couple of rub-ons.
The yellow flourish is a glitter rub on, then I cut apart the friend saying and just used the word "friend". The circle was hand cut from the label paper and I added some ribbon and some white pearls.
On to the next card...
This card used a rub-on that had a glitter flourish already in the center, so I just placed it onto another hand cut label. I punched holes in the label with my Crop-a-dile and set the larger eyelets in the holes and tied my ribbon through them. The top of the card has a simple border punch.
Here's the last set of cards I created with these papers:
I used the Dimensional stickers for the butterfly along with some clear gemstones for the card on the right, and some prima flowers and a brad for accent on the other card. The sentiment on both cards is from a Technique Tuesday stamp set. Again, I hand cut the labels from the paper (LOVE that paper...so many projects created from one sheet). These cards are little 3x3 cards.

Hope you enjoyed the inspiration!